The onboarding checklist every team needs (for new hires and new users)

April 24, 2026
appcues customer onboarding checklist
TL;DR
  • An onboarding checklist is a structured set of steps that guides someone from day zero to full productivity, whether they're a new employee or a new product user.
  • This guide covers both types: employee onboarding (preboarding through 90 days) and product/user onboarding (signup through activation).
  • You'll find a 5-step framework, common mistakes to avoid, and FAQ answers so you can build or improve your checklist today.

Customer onboarding is important for long-term business success because it goes beyond simply introducing customers to your product or service. After all, it’s all about ensuring satisfaction and setting the stage for a lasting partnership.

Another core benefit you should remember is how it can help you build trust. A smooth (and ideally personalized) experience shows you're committed to helping customers achieve their goals.

In return? You'll get loyal customers and strengthen your relationship with them right from the start.

Still, there's a clear distinction to make between customer and user onboarding. The former focuses on decision-makers and long-term relationships while the latter remains more tactical and aimed at individual users.

This guide provides actionable templates, tips, and insights to optimize both. Together, these processes ensure a seamless experience that aligns with your customers’ goals and maximizes their potential with your product.

What is an onboarding checklist?

An onboarding checklist is a sequenced list of tasks that moves a new person—employee or user—from unfamiliar to productive. It's the difference between hoping someone figures things out and knowing they will.

There are two main types:

  1. Employee onboarding checklist: Used by HR and people ops to guide new hires from offer acceptance through their first 90 days.
  2. Product/user onboarding checklist: Used by SaaS and product teams to guide users from signup to activation and beyond.

Why does this matter? Structured onboarding reduces churn, shortens time-to-value, and creates consistency across every new person who joins your team or tries your product.

The data backs this up. Companies with structured onboarding see an 82% improvement in new hire retention, according to Brandon Hall Group. For SaaS products, users who complete onboarding checklists convert to paid at significantly higher rates—some teams report activation lifts of 20% or more simply by adding a visible checklist to their product.

Without a checklist, onboarding becomes ad hoc. People miss critical steps. They churn before they ever experience value. A checklist turns a messy process into a repeatable system.

Here's a comparison of customer vs. user onboarding:

Customer Onboarding User Onboarding
Focus Decision-makers and the whole team Individual users
Goal Build relationships, align on objectives, ensure ROI Guide users to effectively adopt the product
Common outcomes Long-term satisfaction and retention Quick adoption and daily usage
Communication style High-level strategy and personalized guidance Tactical, hands-on guidance
Deliverables Success plans, training schedules, and check-ins Tutorials, walkthroughs, and task-focused tips

The employee onboarding checklist

New hire onboarding isn't a single event. It's a process that starts before day one and extends through the first 90 days. Here's how to structure it by phase.

Preboarding (before day 1)

This phase sets the tone. Don't wait until someone shows up to start onboarding them.

  • Send a welcome email with first-day logistics, dress code (if applicable), and who they'll meet
  • Prepare equipment: laptop, monitors, accessories ordered and configured
  • Set up accounts: email, Slack, HR systems, role-specific tools
  • Share the employee handbook and any required reading
  • Assign an onboarding buddy or peer mentor
  • Complete paperwork digitally: I-9, W-4, direct deposit, benefits enrollment

Day 1

Day one should feel intentional, not overwhelming. Focus on connection and context.

  • Office or virtual tour (for remote teams, a video walkthrough works)
  • Team introductions—keep it small and meaningful
  • Role expectations conversation with their manager
  • Culture orientation: mission, values, how work gets done here
  • Tool setup verification: make sure everything actually works

Week 1

By the end of week one, your new hire should understand their role, know their teammates, and have a clear 30-day goal.

  • Role-specific training sessions (product, systems, processes)
  • Cross-functional introductions with key collaborators
  • Set 30-day goals with their manager—specific, measurable, achievable
  • First manager 1:1: check in on questions, concerns, and early impressions

First 90 days (30-60-90 framework)

The 30-60-90 model breaks the first three months into learning, contributing, and owning.

  • Days 1–30 (Learn): Absorb information. Understand the company, team, product, and role. Shadow colleagues. Ask questions.
  • Days 31–60 (Contribute): Start delivering. Take on projects with guidance. Build relationships across teams.
  • Days 61–90 (Own): Operate independently. Own outcomes, not just tasks. Demonstrate impact.

Schedule performance check-ins at each milestone. These conversations keep expectations aligned and surface issues early.

The 5 C's of onboarding

A quick framework to pressure-test your employee checklist:

  1. Compliance: Legal and policy requirements (paperwork, training)
  2. Clarification: Role expectations and performance standards
  3. Culture: Norms, values, and how things really work
  4. Connection: Relationships with managers, teammates, and mentors
  5. Confidence: Early wins that build momentum and self-assurance

If your checklist covers all five C's, you're building more than a process. You're building belonging.

The product onboarding checklist (for SaaS and digital products)

Employee onboarding and product onboarding share the same goal: get someone from new to productive. But product onboarding happens in minutes or hours, not weeks. The stakes are different—and so is the approach.

Why product onboarding needs its own checklist

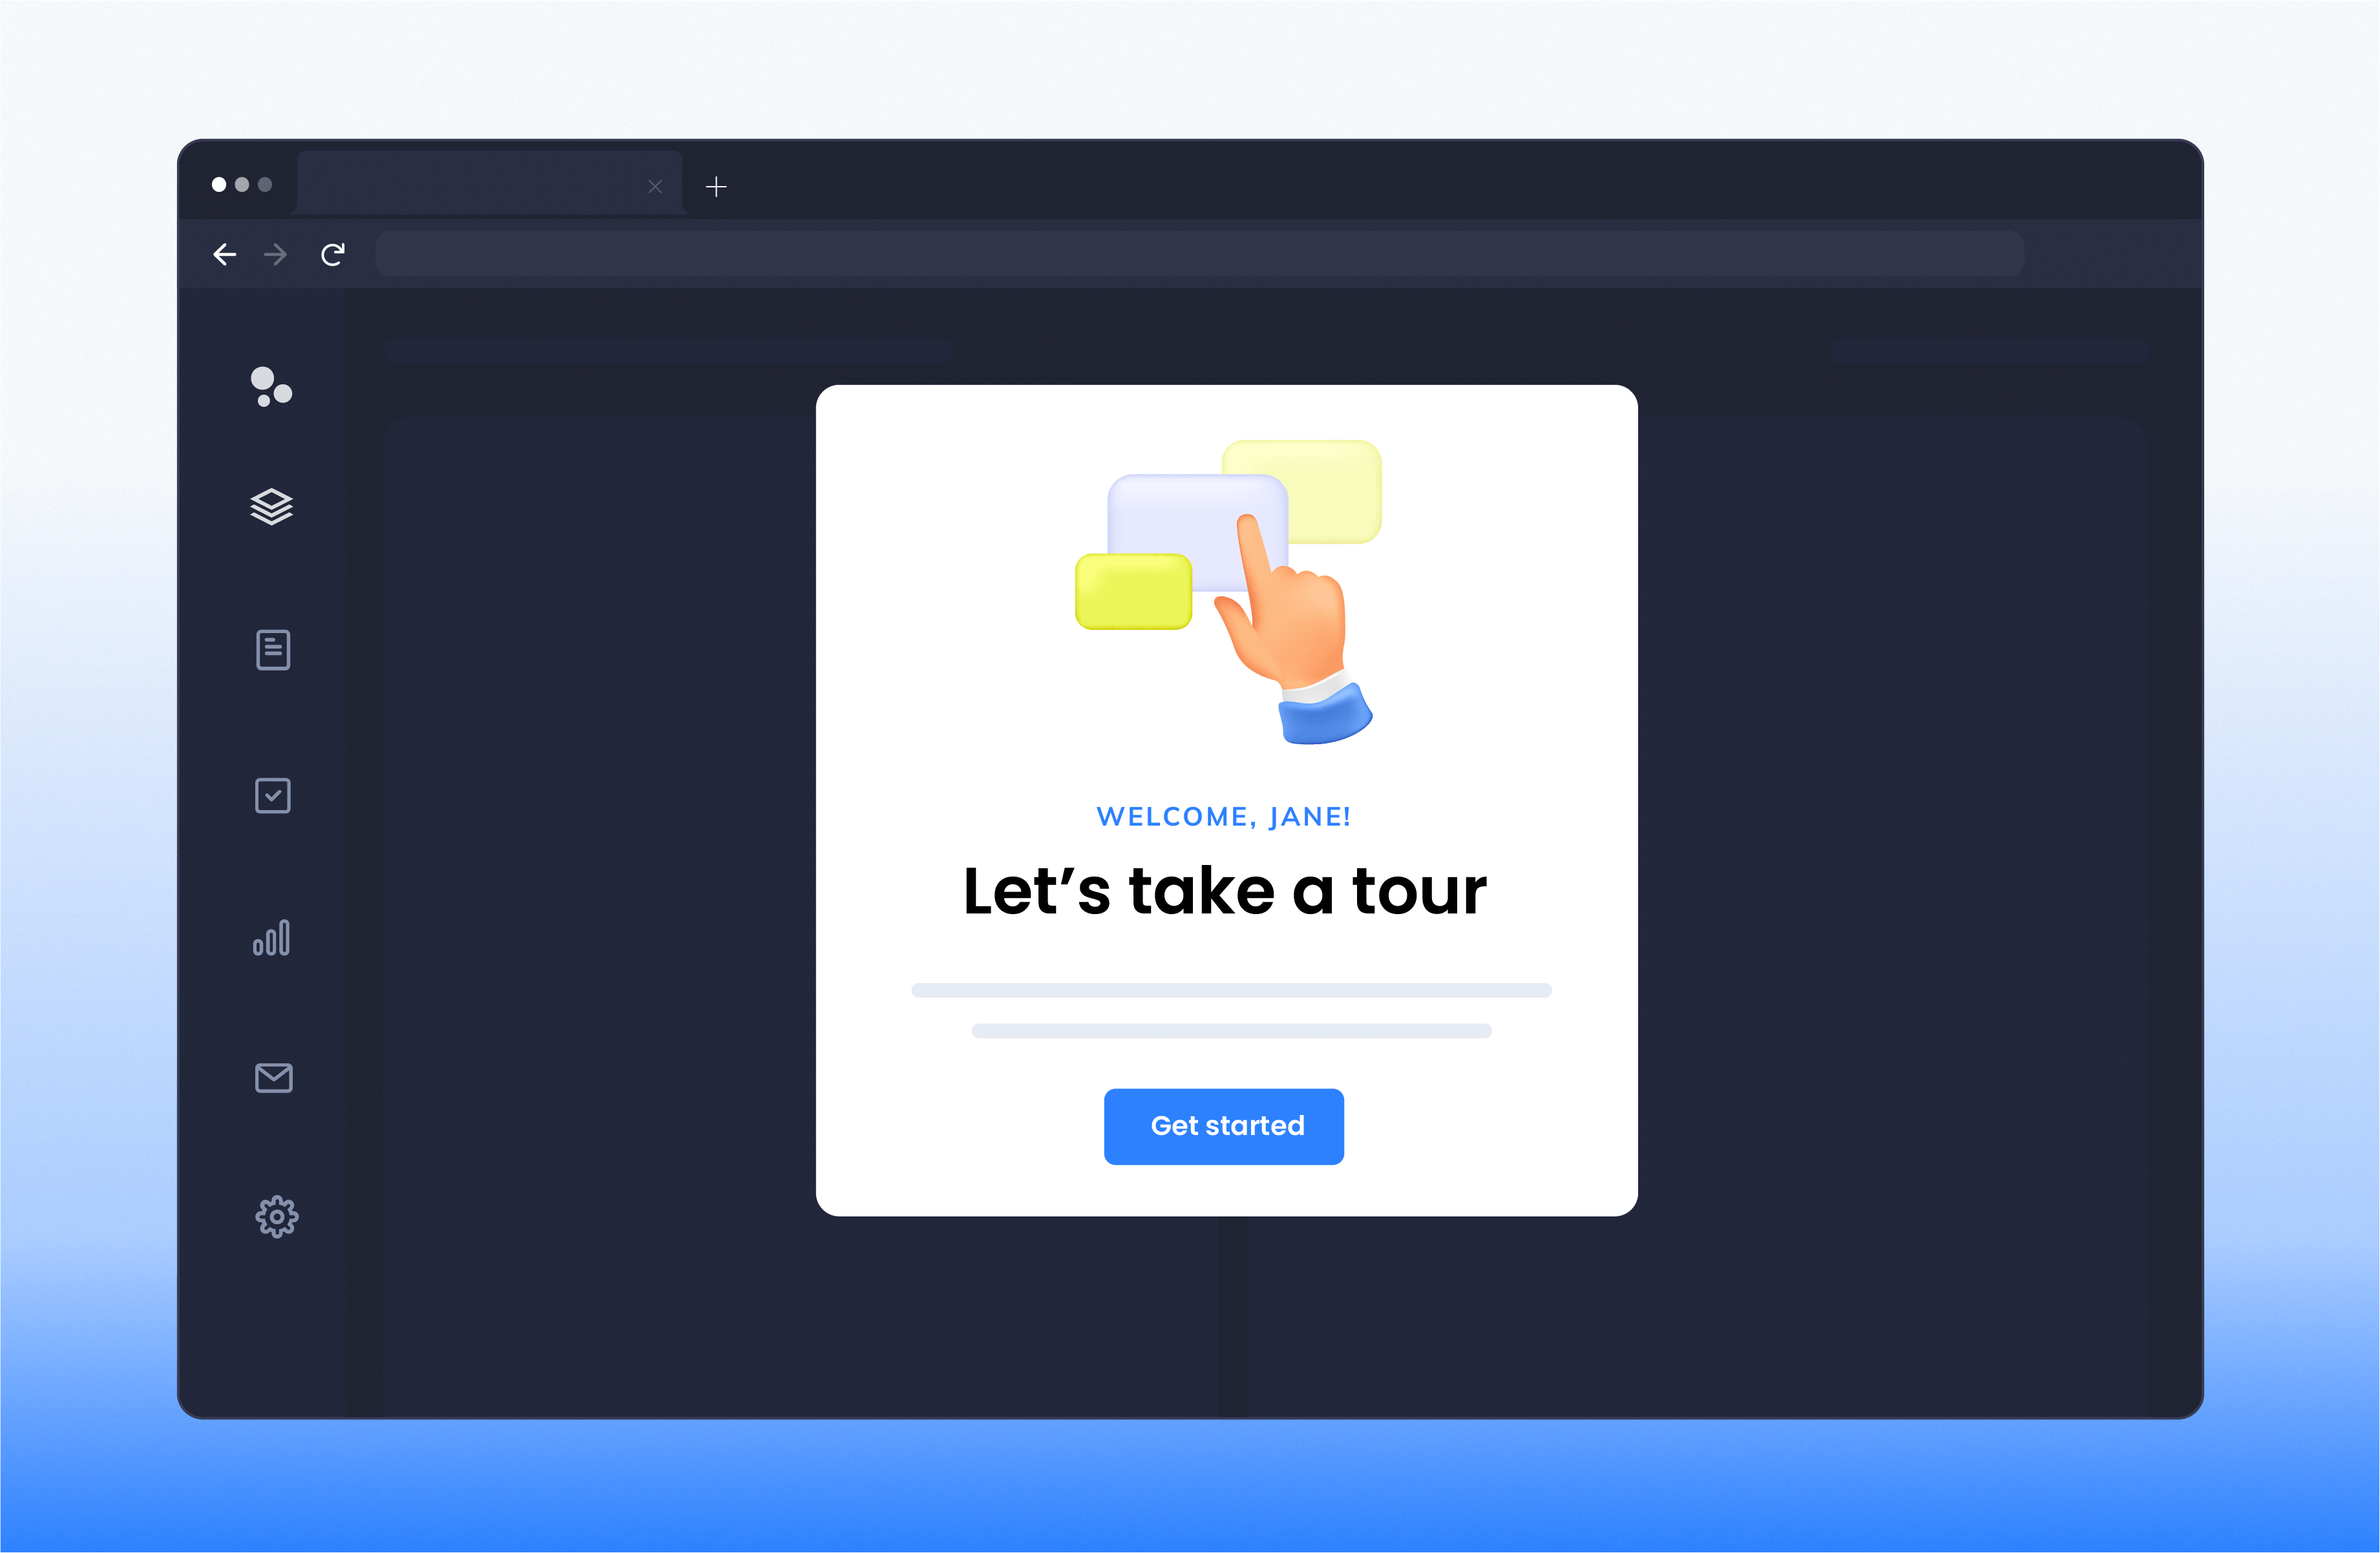
Your users won't read a manual. They won't watch a 20-minute video. They'll click around, get confused, and leave. A checklist gives them a clear path forward and a reason to keep going.

In-app checklists work because they meet users where they are. They reduce cognitive load, create momentum through visible progress, and guide users toward the actions that matter most.

Phase 1: Welcome and account setup

First impressions happen fast. This phase should orient users without overwhelming them.

  • Welcome screen: A brief message that confirms they're in the right place. State the value they'll get and what's next.
  • Account configuration: Help them connect integrations, invite teammates, or set preferences—whatever's required to use the product.
  • Profile completion: If relevant, prompt them to add details that improve their experience (role, use case, team size).

Keep this phase short. Every extra field is a chance to lose someone.

Phase 2: Product tour and core actions

Now you guide users through the features that deliver value. Focus on two to three key actions—not a full product walkthrough.

  • Guided tour: Use tooltips, modals, or hotspots to highlight critical features. Show, don't tell.
  • Progressive disclosure: Don't dump everything at once. Reveal features as users become ready for them.
  • First core action: Get them to do one thing that demonstrates value. For a project management tool, that might be creating their first task. For an analytics platform, it might be connecting a data source.

The best product tours feel like a helpful guide, not a forced march.

Phase 3: Activation milestone

Activation is the moment a user experiences your product's core value. Your checklist should lead directly to it.

  • Define your activation event: What action predicts long-term retention? For Slack, it's 2,000 messages sent. For Dropbox, it's uploading a file. Identify yours.
  • Build checklist items around activation: Every task should move users closer to that moment. Cut anything that doesn't.

Activation isn't about completing a checklist. It's about experiencing value. The checklist is just the path.

Phase 4: Ongoing engagement

Onboarding doesn't end at activation. Keep users engaged as they grow with your product.

  • Feature discovery: Introduce advanced features after users master the basics. Use in-app announcements, banners, or modals.
  • In-app announcements: Share product updates, tips, and best practices at contextually relevant moments.
  • Re-engagement nudges: If users go dormant, trigger emails or in-app messages to bring them back.

In-app checklist UX patterns

How you present the checklist matters as much as what's in it.

  • Progress bars: Visual progress (e.g., "3 of 5 complete") creates momentum and completion motivation.
  • Task completion animations: Small celebrations reinforce progress and make the experience feel rewarding.
  • Dismissible vs. persistent: Some users want to hide the checklist; others need it visible. Test both.
  • Contextual triggers: Show checklist items when they're relevant, not all at once. A task to "invite teammates" can appear after the user completes setup.

Segmentation: Different checklists for different users

One checklist doesn't fit all. Segment by role, use case, or plan tier.

A marketing user and a developer need different onboarding paths. A free trial user and an enterprise customer have different goals. Build checklists that match.

Tools like Appcues let you create segmented, no-code in-app checklists that adapt to user attributes and behavior. You can build, test, and iterate without engineering support—which means you ship faster and learn faster.

How to build an onboarding checklist in 5 steps

Whether you're onboarding employees or users, the process for building an effective checklist follows the same structure. For more on user onboarding best practices, see our detailed guide.

Step 1: Define the outcome

Start with the end. What does success look like?

  • For employees: Productive and integrated by day 90. Clear on their role, connected to their team, contributing independently.
  • For users: Activated within the first session or week. Experienced the core value. Likely to return.

Your checklist exists to reach this outcome. Every item should serve it.

Step 2: Map the milestones

Identify three to five key milestones between start and outcome. These are the major waypoints that mark progress.

Employee example:

  1. Preboarding complete
  2. Day 1 orientation finished
  3. Week 1 training done
  4. 30-day goals set and reviewed
  5. 90-day performance check-in passed

User example:

  1. Account created
  2. Core feature used
  3. First value moment experienced
  4. Second session completed
  5. Activation event reached

Milestones give structure. They also help you identify where people drop off.

Step 3: List tasks per milestone

For each milestone, list five to eight binary tasks. Binary means pass/fail—either they did it or they didn't.

Avoid vague items like "understand the product." Instead, write "complete the product tour" or "create your first project."

Employee preboarding tasks:

  • Signed offer letter received
  • Equipment ordered
  • Accounts provisioned
  • Welcome email sent
  • Buddy assigned
  • Paperwork completed

User account setup tasks:

  • Email verified
  • Profile completed
  • First integration connected
  • Teammates invited

Keep tasks specific and actionable. If you can't measure it, rewrite it.

Step 4: Assign ownership and timing

Every task needs an owner and a trigger.

For employee onboarding:

  • Who's responsible? (HR, manager, IT, buddy)
  • When does it happen? (Day -7, Day 1, Week 1)

For product onboarding:

  • What triggers the next step? (Page visit, action completed, time elapsed)
  • What happens if they don't complete it? (Reminder, alternative path, support outreach)

Clear ownership prevents tasks from falling through cracks. Clear timing keeps the process moving.

Step 5: Measure and iterate

Your first checklist won't be perfect. Track completion rates, identify drop-offs, and improve.

Key metrics to watch:

  • Completion rate: What percentage finish the checklist?
  • Drop-off points: Where do people abandon?
  • Time to completion: How long does it take?
  • Outcome correlation: Do completers retain/activate at higher rates?

A/B test different versions. Shorten long checklists. Reorder confusing sequences. The best checklists evolve with data. For onboarding benchmarks by product category, compare your metrics against industry standards.

Onboarding checklist mistakes to avoid

Even well-intentioned checklists can fail. Here are the most common pitfalls.

Overloading day 1

New hires and new users can only absorb so much. If you cram everything into the first day or first session, you'll overwhelm them. Spread critical information across time. Prioritize what they need now versus what can wait.

Making every step mandatory

Not every task matters equally. Some users don't need to invite teammates. Some employees don't need cross-functional intros in week one. Build in flexibility. Required steps should be truly required.

One-size-fits-all

A checklist built for one persona won't work for another. Developers and marketers have different needs. Enterprise customers and SMBs have different contexts. Segment your checklists by role, use case, or customer tier.

Never updating the checklist

Your product changes. Your company changes. Your checklist should too. Review it quarterly. Cut steps that don't matter. Add steps that do. Stale checklists create stale experiences.

Not measuring completion

If you don't track whether people finish your checklist, you can't improve it. Instrument completion events. Analyze drop-off points. Use the data to iterate.

Key takeaways

  1. An onboarding checklist gives structure to the transition from new to productive—whether you're onboarding employees or product users.
  2. Employee checklists should cover preboarding, day 1, week 1, and the first 90 days using the 30-60-90 framework.
  3. Product onboarding checklists should guide users from signup to activation, with in-app UX patterns like progress bars and contextual triggers.
  4. Build your checklist by defining the outcome first, mapping milestones, and measuring completion rates to iterate.
  5. The best checklists are segmented by persona, lightweight enough to complete, and updated as your organization or product evolves.

Ready to build an onboarding checklist your users actually complete?

Appcues lets you create in-app onboarding checklists, product tours, and activation flows—no code required. Design experiences that guide users to value, measure what works, and iterate without waiting on engineering.

Book a demo | Take an interactive tour

Facts & Questions

What should be included in an onboarding checklist?
What are the 5 C's of onboarding?
What is the 30-60-90 onboarding rule?
What are the 4 stages of onboarding?
Appcues logo

Ready to see what your journey could look like with Appcues?

See how your team can remove friction, move faster, and deliver experiences that are easy for users... and safe for your systems. We’ll walk through your workflows, your governance needs, and the outcomes that matter most to your business.