EXPANSION PLAYBOOK
evaluation playbook
activation playbook
ADVOCACY PLAYBOOK
adoption playbook
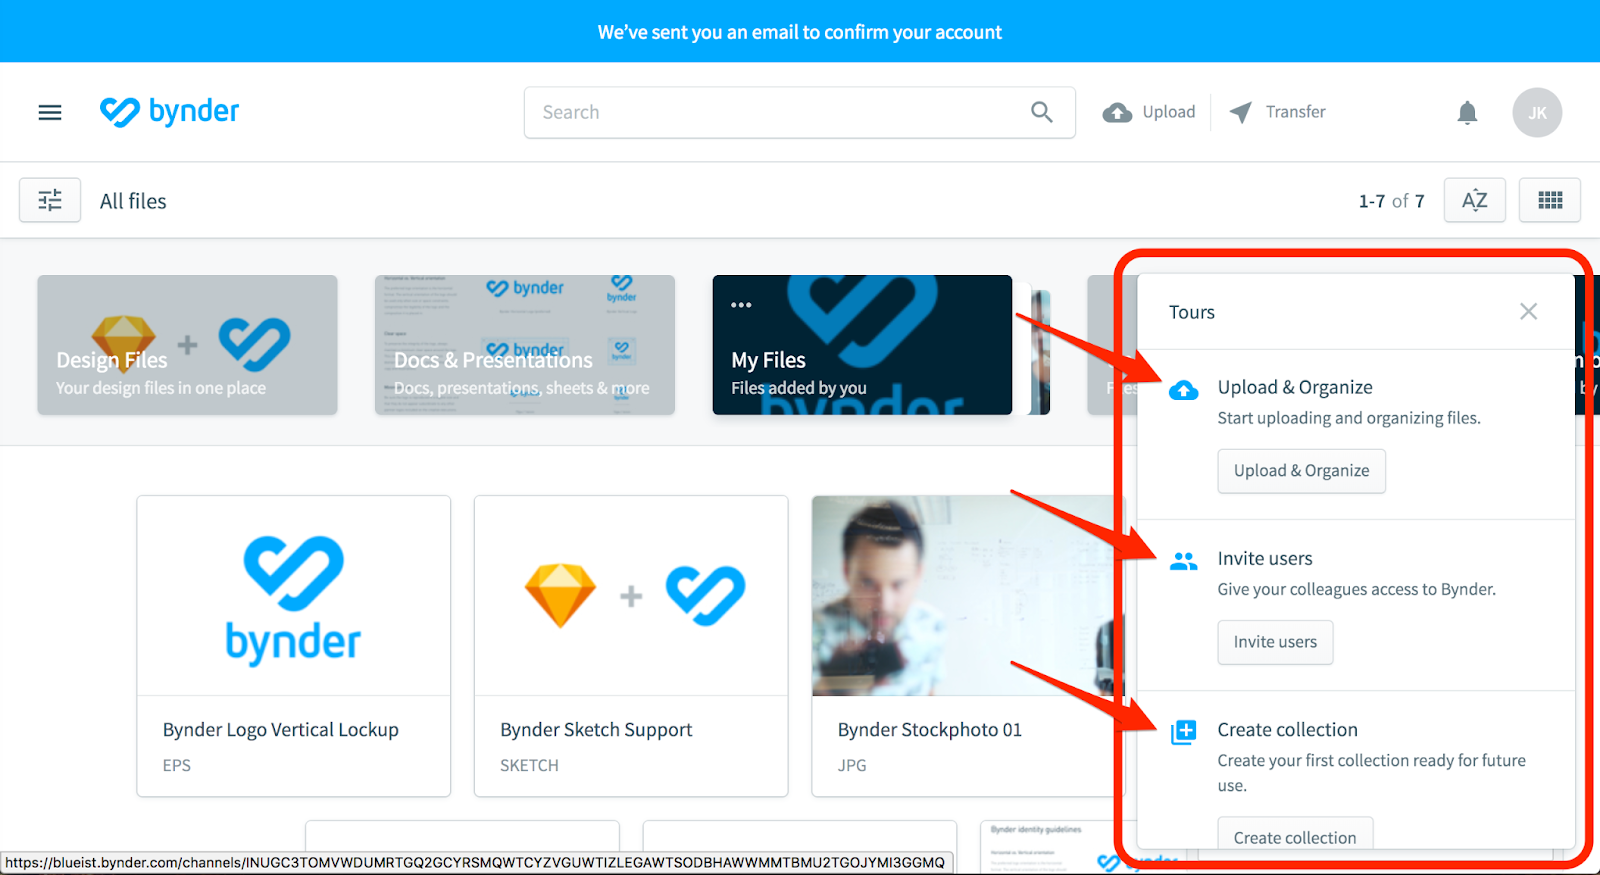
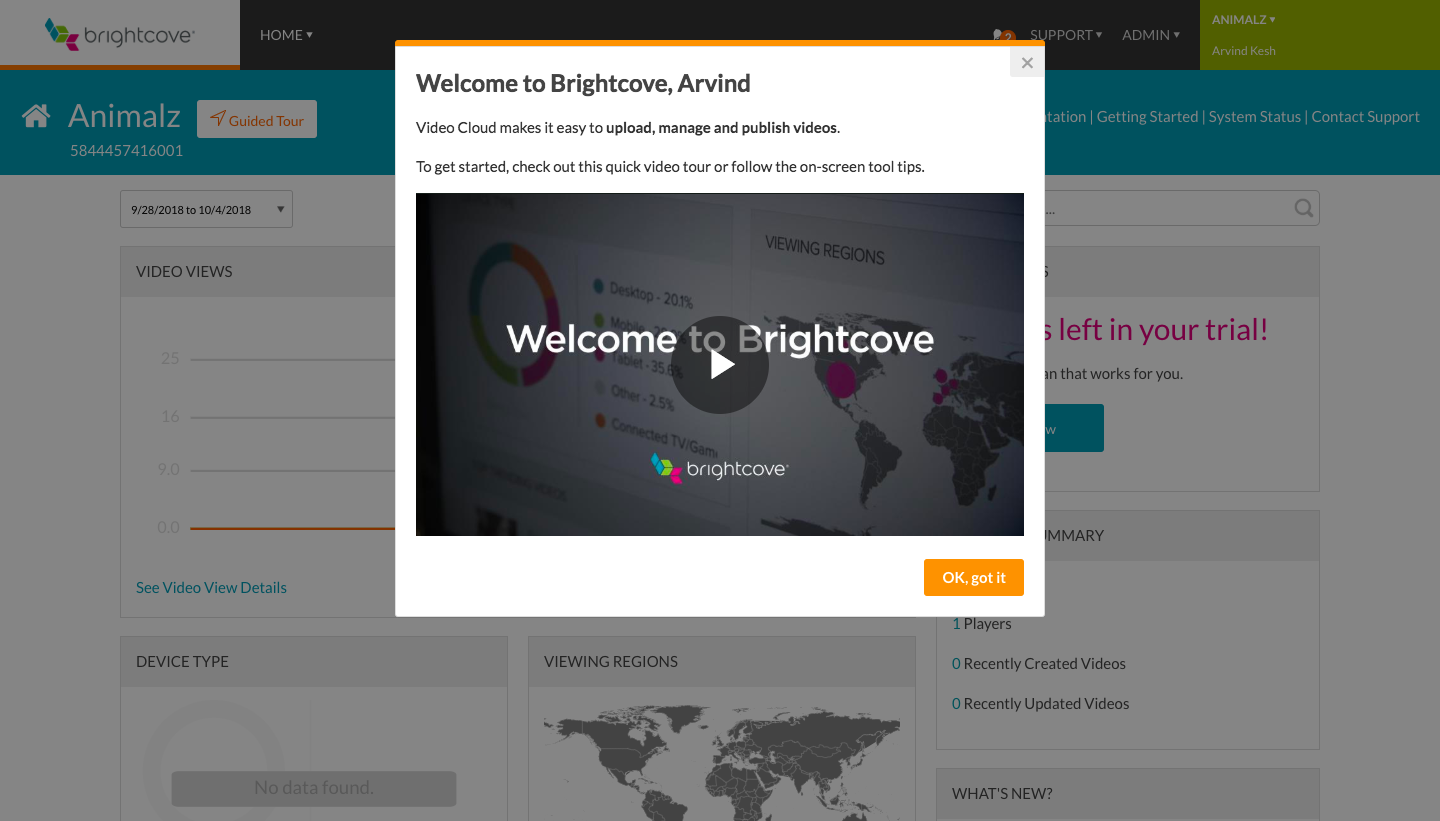
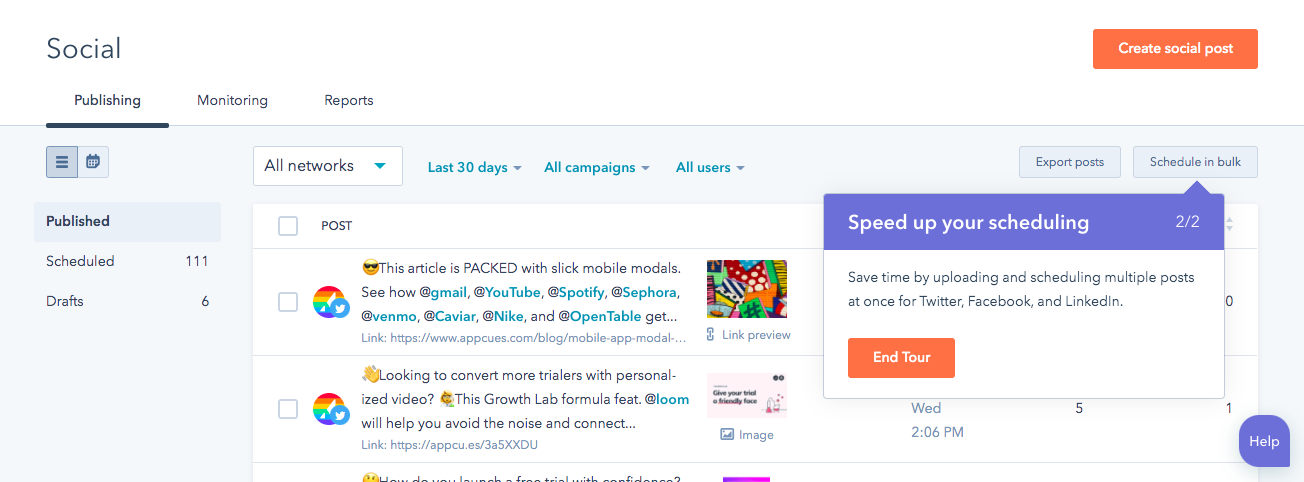
Building goal-oriented product tours
Goals, of the non-soccer variety. In this playbook, we’ll cover how to set them for your product tours—as well as the best UI patterns for serving them up.